
2023. 11. 3. 20:06ㆍUIKit, SwiftUI, H.I.G
1️⃣ Intro
이번 글에서는 요즘 과제로 하고 있는 아이폰 기본 "날씨" 앱을 클론 코딩하면서 알게 된 SearchController와 SearchBar에 대한 내용을 정리해 보겠다.
내가 구현하고 싶었던 내용은 아래 내용과 같았다.
여러 지역의 날씨 데이터가 아래 gif에서 보이는 것과 같이 UITableView의 Cell로 구성되어 있을 때,
NavigationBar에 포함되어 있는 SearchBar에 내가 검색하고 싶은 지역 이름을 입력하면, 해당 이름이 포함된 지역의 날씨 데이터 Cell만 TableView에 표출할 수 있도록 하는 내용이다.
2️⃣ UISearchBar? UISearchController?
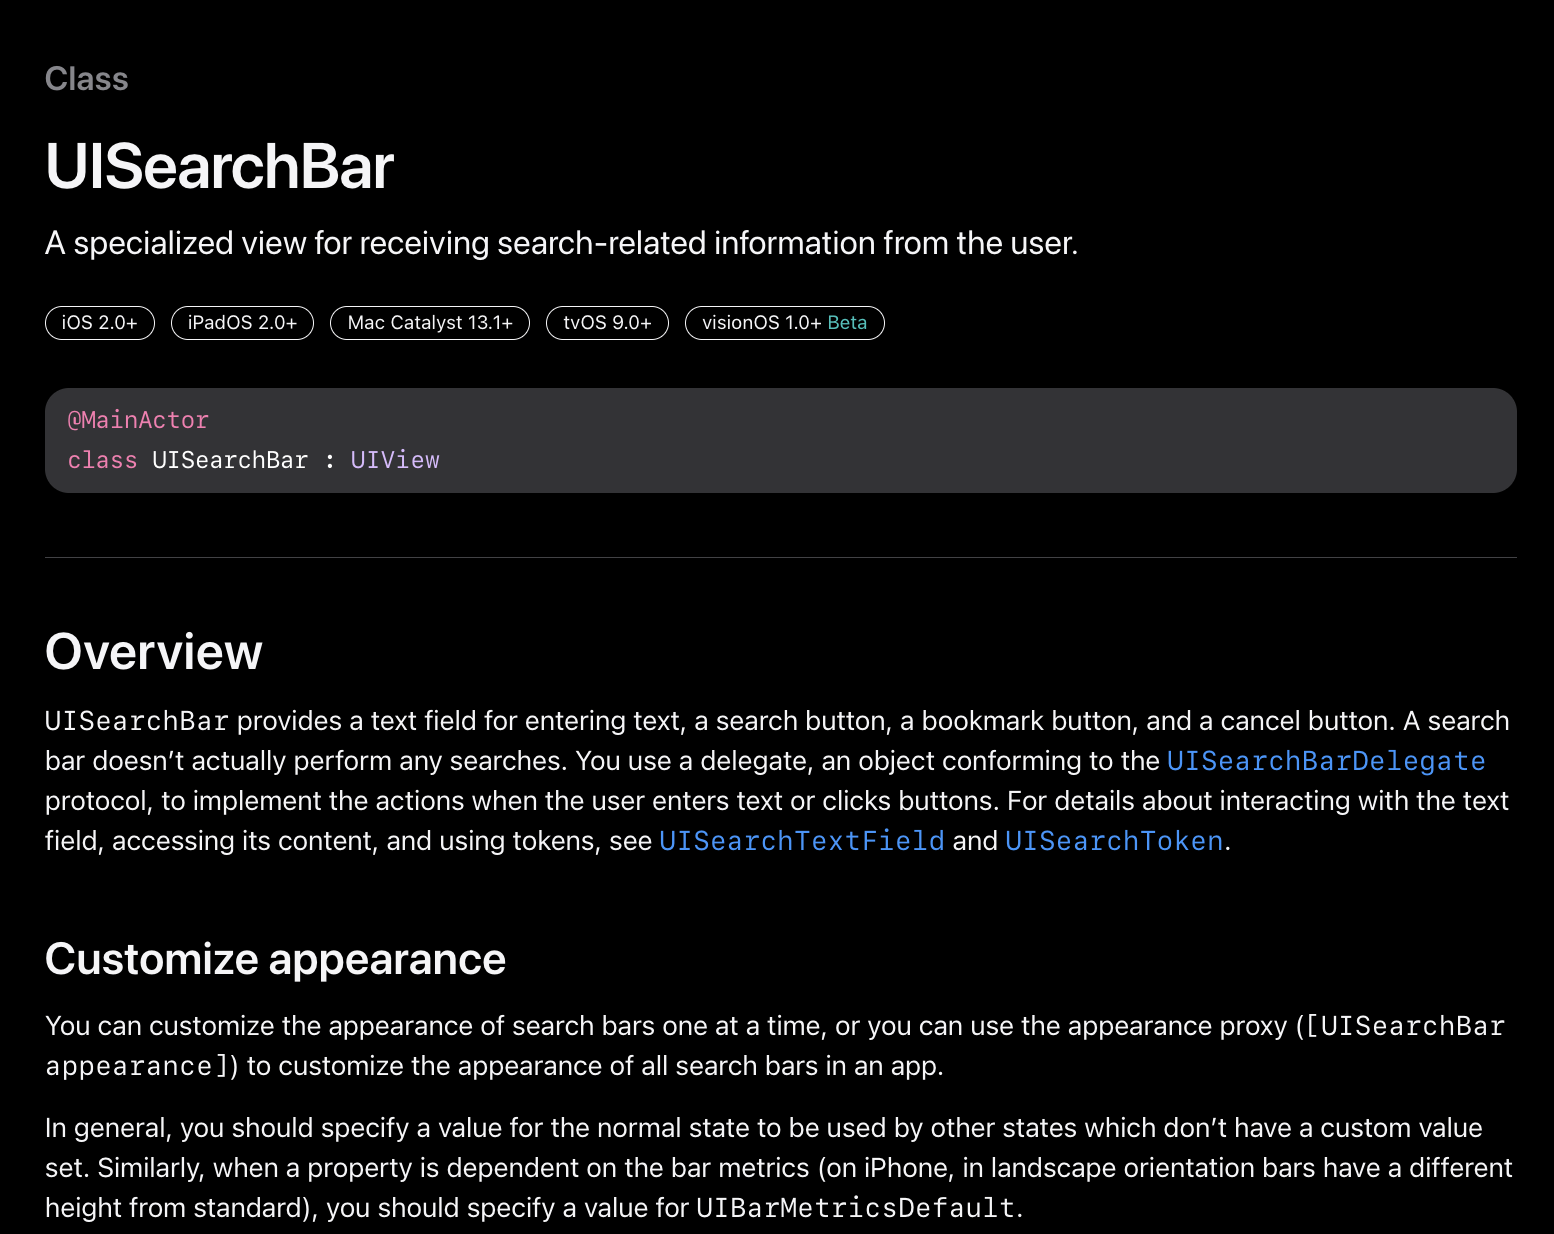
UISearchBar는 사용자의 텍스트 입력을 받는 텍스트 필드와 함께 검색/취소/북마크 버튼을 포함시킨 View이다.
단, SearchBar를 뷰에 올리는 수준으로 바로 검색 기능이 구현가능한 것은 아니고, Delegate를 이용해서 텍스트필드에 값이 입력되거나 검색 버튼을 눌렀을 때에 대해 작업을 할 수 있도록 별도의 처리를 해줘야 한다.
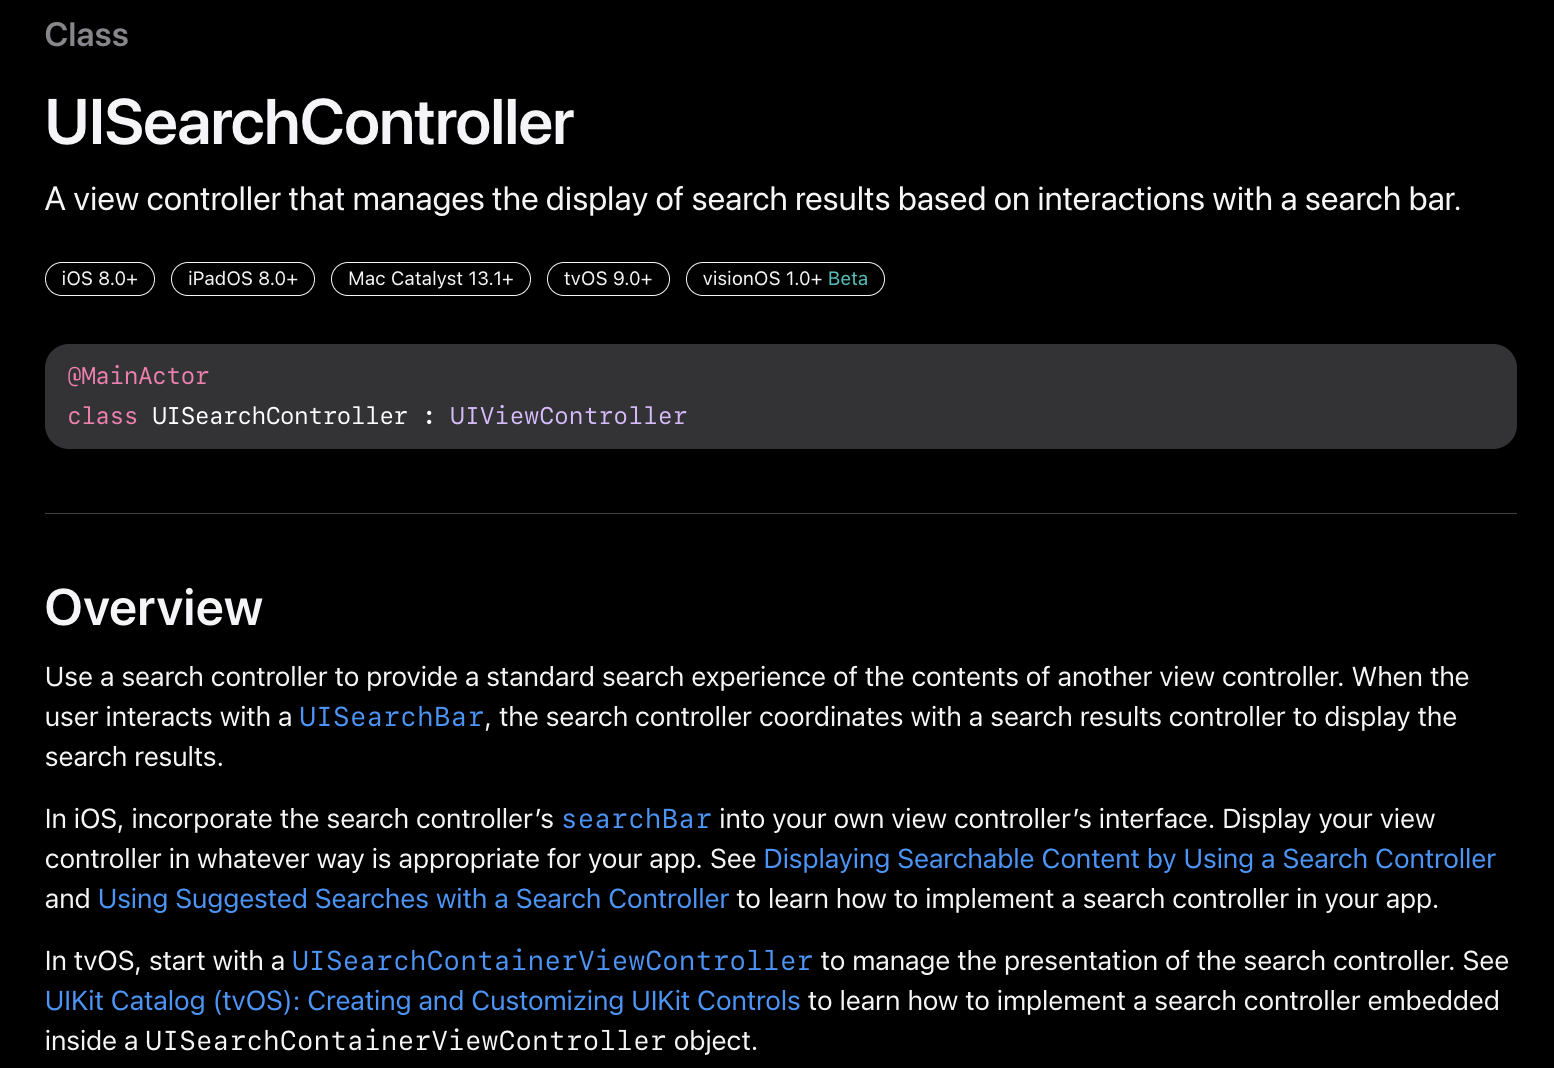
UISearchController는 SearchBar와의 interaction으로 검색 결과 표시를 관리하는 ViewController이다.
즉, ViewController가 View를 관리하기 위한 도구이므로, UISearchController는 UISearchBar라는 View를 관리하면서 자동적으로 그 Search의 결과 Controller를 통해 결괏값을 보여줄 수 있는 것이다.
UISearchController가 iOS 8 이후에 생긴 더 확장된 개념이므로, 이번 글에서는 UISearchController를 이용해 SearchBar를 구현해 줄 것이다.
사실, UISearchController를 사용한다는 것이 UISearchBar를 함께 사용하고 있다는 것이다.
3️⃣ 기본 레이아웃부터 세팅합시다.
기본적으로 테이블 뷰를 만들어줬다. (Delegate나 DataSource Extension은 따로 여기에 쓰지는 않겠다.)
테이블 뷰 레이아웃을 잡아줬고, 테이블 뷰의 Cell로 사용할 화면을 register 해줬고, delegate와 datasource를 self로 지정해서 구현해 줬다.
private let mainTableView = UITableView(frame: .zero, style: .insetGrouped)

    // 레이아웃 세팅
    private func setupLayout() {
        self.view.addSubViews(mainTableView)

        mainTableView.snp.makeConstraints { make in
            make.edges.equalToSuperview()
        }
    }

    private func setTableViewConfig() {
        self.mainTableView.register(MainLocationTableViewCell.self,
                                    forCellReuseIdentifier: MainLocationTableViewCell.identifier)
        self.mainTableView.delegate = self
        self.mainTableView.dataSource = self
    }
테이블 뷰 각 Cell마다 들어갈 데이터 struct도 만들어줬다.
아직은 서버를 붙이지 않아 더미 데이터로 여러 개를 만들어서 배열에 추가시켜 두었고,
나중에 Search 기능을 구현할 때 WeatherLocation.location 값을 기준으로 검색할 수 있도록 할 것이라는 점만 기억해 두자.
struct WeatherLocation {
    let location: String
    let weather: String
    let temp: Int
    let maxTemp: Int
    let minTemp: Int
    let weatherSummary: String
    let timeWeatherList: [TimeWeather]
    let indexNumber: Int
}

struct TimeWeather {
    let time: String
    let weather: WeatherState
    let temp: Int
}

// MARK: - Properties
let dummyLocationData: [WeatherLocation] = [
    WeatherLocation(location: "천안시",
                    weather: "흐림",
                    temp: 18, maxTemp: 18, minTemp: 11,
                    weatherSummary: "08:00~09:00에 강우 상태가, 18:00에 한때 흐린 상태가 예상됩니다.",
                    timeWeatherList: [TimeWeather(time: "Now", weather: .cloud, temp: 18),
                                      TimeWeather(time: "10시", weather: .cloud, temp: 18),
                                      TimeWeather(time: "11시", weather: .cloud, temp: 18),
                                      TimeWeather(time: "12시", weather: .cloud, temp: 18),
                                      TimeWeather(time: "13시", weather: .cloud, temp: 18),
                                      TimeWeather(time: "14시", weather: .cloud, temp: 18),
                                      TimeWeather(time: "15시", weather: .cloud, temp: 18),
                                      TimeWeather(time: "16시", weather: .cloud, temp: 18),
                                      TimeWeather(time: "17시", weather: .cloud, temp: 18),
                                      TimeWeather(time: "18시", weather: .cloud, temp: 18)], indexNumber: 0)...]
4️⃣ SearchController 객체 추가
위에서 UITableView 객체를 만들어준 것과 같이, UISearchController 객체도 만들어주자.
private let searchController = UISearchController()그리고 SearchController를 NavigationController의 NavigationItem으로 추가시켜주고, (기본 날씨앱 윗부분에 있는 SearchBar의 위치는 AutoLayout으로 잡지 않고, NavigationItem으로 추가시키면 자동으로 들어가진다.)
SearchBar가 스크롤이 되더라도 사라지지 않도록 hidesSearchBarWhenScrolling 속성을 false처리 해줬다.
추가로, SearchController에 있는 SearchBar View에 표출시킬 placeholder와 SearchBar를 UITextField로 접근해 텍스트 색상을 각각 추가, 변경해줬다.
private func setSearchBar() {
        navigationItem.searchController = searchController
        navigationItem.hidesSearchBarWhenScrolling = false
        navigationItem.searchController?.searchBar.placeholder = "Search for a city or airport"
        let textFieldInsideSearchBar = navigationItem.searchController?.searchBar.value(forKey: "searchField") as? UITextField
        textFieldInsideSearchBar?.textColor = .white
    }
5️⃣ Search 기능 구현하기
위에서 단순히 SearchBar를 추가해 주는 선에서는 검색기능 구현이 가능하지 않고,
별도의 Delegate를 사용해서 Search 기능을 구현해줘야 한다고 했는데 이 부분에서 Delegate를 이용해 검색 기능을 구현해보겠다.
단순하게, UISearchResultsUpdating Protocol을 채택해서 Search 기능 구현을 해주기 위해 위의 setSearchBar 함수에 한 줄의 코드를 더 추가해 주면 된다.
그럼 navigationItem 속에 있는 searchController의 검색 결과 업데이트를 위한 UISearchResultsUpdating Protocol 처리를 스스로(self) 하겠다는 뜻을 의미하게 되는 것이다.
navigationItem.searchController?.searchResultsUpdater = selfUISearchResultUpdating 프로토콜을 채택하면, 기본적으로 updateSearchResults 메서드를 구현해줘야 한다.
guard-let 구문과 searchController.searchBar.text를 통한 접근으로 SearchBar에 검색된 text를 가져올 수 있고,
filter 함수를 이용해 SearchBar의 입력된 text를 dummyLocation.location에 대응되도록 필터링시켜 새로운 WeatherLocation struct를 담을 수 있는 filteredLocationData에 추가시켜 준다.
그리고 마지막으로 해당 SearchBar의 text가 Update 될 때마다 tableview의 내용을 다시 불러오는 reloadData 메서드도 같이 호출해 준다.
var filteredLocationData = [WeatherLocation]()

extension MainViewController: UISearchResultsUpdating {
    func updateSearchResults(for searchController: UISearchController) {
        guard let text = searchController.searchBar.text else { return }
        self.filteredLocationData = dummyLocationData.filter { return $0.location.lowercased().contains(text.lowercased()) }
        self.mainTableView.reloadData()
    }

}
6️⃣ 마지막으로, TableView DataSource를 이용해 검색 결과에 따른 변경 사항을 테이블 뷰에 적용시켜주자
SearchBar에 들어온 값을 받아오고, 필터 처리까지 해주었으니 테이블뷰에 해당하는 Cell만 보여주도록 DataSource에서 처리해 줄 차례이다.
일단, DataSource를 처리해 주기 위해서는 isFiltering이라는 변수를 하나 만들어줘야 하는데,
해당 변수는 searchController가 Active 상태인지, SearchBar에 text값이 있는지를 함께 체크해서 두 경우에 모두 해당할 때에만 DataSource를 다르게 가져오는데 목적을 둔다.
var isFilterting: Bool {
        let searchController = self.navigationItem.searchController
        let isActive = searchController?.isActive ?? false
        let isSearchBarHasText = searchController?.searchBar.text?.isEmpty == false

        return isActive && isSearchBarHasText
    }
Row의 개수를 결정하는 numbersOfRowSection과,
테이블 뷰의 Cell에 어떤 내용을 추가할지를 결정하는 cellForRowAt 메서드 각각에는 위에서 만들어준 isFiltering 값에 따라 dummyLocation 값을 표출할지, 새로 필터링 처리가 된 filteredLocationData값을 표출할지를 구분해주기만 하면 되겠다.
// MARK: - TableView DataSource
extension MainViewController: UITableViewDataSource {

    func tableView(_ tableView: UITableView, numberOfRowsInSection section: Int) -> Int {
        return self.isFilterting ? self.filteredLocationData.count : dummyLocationData.count
    }

    func tableView(_ tableView: UITableView, cellForRowAt indexPath: IndexPath) -> UITableViewCell {
        guard let cell = tableView.dequeueReusableCell(withIdentifier: MainLocationTableViewCell.identifier, for: indexPath) as? MainLocationTableViewCell else { return UITableViewCell() }

        if self.isFilterting {
            cell.bindData(data: filteredLocationData[indexPath.row], row: indexPath.row)
        } else {
            cell.bindData(data: dummyLocationData[indexPath.row], row: indexPath.row)
        }
        cell.selectionStyle = .none
        return cell
    }
}
7️⃣ 풀코드도 함께 첨부합니다!
각 함수와 변수, 익스텐션 흐름이 어떻게 되는지 잘 모르겠다면 아래 풀 코드를 확인해 보길 바란다.
아. 참고로, 이번 프로젝트에서는 SnapKit과 Then 라이브러리를 이용해서 레이아웃과 인스턴스의 속성값을 지정해주는데 사용했다.
//
//  MainViewController.swift
//  iOS-Assignment-Weather-Clone
//
//  Created by 민 on 10/14/23.
//

import UIKit
import SnapKit
import Then

protocol LocationSelectedProtocol: NSObject {
    func dataSend(data: [TimeWeather])
}

final class MainViewController: UIViewController {

    // MARK: - Properties
    var delegate: LocationSelectedProtocol?
    var filteredLocationData = [WeatherLocation]()

    // MARK: - UI Components
    private let searchController = UISearchController()
    private let mainContentView = UIView()
    private let mainTableView = UITableView(frame: .zero, style: .insetGrouped).then {
        $0.backgroundColor = .black
    }

    // MARK: - View Life Cycle
    override func viewDidLoad() {
        super.viewDidLoad()

        self.setupUI()
        self.setTableViewConfig()
    }
}

// MARK: - Extensions
extension MainViewController {
    // UI 세팅
    private func setupUI() {

        setNavigationBar()
        setupLayout()
    }

    // 레이아웃 세팅
    private func setupLayout() {
        self.view.addSubViews(mainTableView)

        mainTableView.snp.makeConstraints { make in
            make.edges.equalToSuperview()
        }
    }

    private func setTableViewConfig() {
        self.mainTableView.register(MainLocationTableViewCell.self,
                                    forCellReuseIdentifier: MainLocationTableViewCell.identifier)
        self.mainTableView.delegate = self
        self.mainTableView.dataSource = self
    }

    private func setNavigationBar() {
        setSearchBar()

        navigationController?.navigationBar.prefersLargeTitles = true
        navigationController?.navigationBar.barTintColor = .black
        navigationController?.navigationBar.titleTextAttributes = [.foregroundColor: UIColor.white]
        navigationItem.title = "Weather"
        navigationController?.navigationBar.largeTitleTextAttributes = [.foregroundColor: UIColor.white]
        navigationItem.rightBarButtonItem = UIBarButtonItem(image: UIImage(named: "moreIcon"),
                                                            style: .plain,
                                                            target: nil,
                                                            action: nil)
        navigationItem.rightBarButtonItem?.tintColor = .white
        navigationItem.hidesSearchBarWhenScrolling = false

    }

    private func setSearchBar() {
        navigationItem.searchController = searchController
        navigationItem.searchController?.searchBar.placeholder = "Search for a city or airport"
        navigationItem.searchController?.searchResultsUpdater = self

        let textFieldInsideSearchBar = navigationItem.searchController?.searchBar.value(forKey: "searchField") as? UITextField
        textFieldInsideSearchBar?.textColor = .white
    }
}

extension MainViewController: UISearchResultsUpdating {
    var isFilterting: Bool {
        let searchController = self.navigationItem.searchController
        let isActive = searchController?.isActive ?? false
        let isSearchBarHasText = searchController?.searchBar.text?.isEmpty == false

        return isActive && isSearchBarHasText
    }

    func updateSearchResults(for searchController: UISearchController) {
        guard let text = searchController.searchBar.text else { return }
        self.filteredLocationData = dummyLocationData.filter { return $0.location.lowercased().contains(text.lowercased()) }
        self.mainTableView.reloadData()
    }

}

// MARK: - TableView Delegate
extension MainViewController: UITableViewDelegate {

    func tableView(_ tableView: UITableView, heightForRowAt indexPath: IndexPath) -> CGFloat {
        return 133
    }

    func tableView(_ tableView: UITableView, didSelectRowAt indexPath: IndexPath) {
        let detailPageVC = DetailPageViewController()

        for index in 0 ..< dummyLocationData.count {
            let detailVC = DetailViewController()
            detailVC.indexNumber = index
            detailPageVC.viewControllersArray.append(detailVC)
        }

        let firstVC = detailPageVC.viewControllersArray[indexPath.row]
        detailPageVC.pageVC.setViewControllers([firstVC], direction: .forward, animated: true)

        self.navigationController?.pushViewController(detailPageVC, animated: true)
    }
}

// MARK: - TableView DataSource
extension MainViewController: UITableViewDataSource {

    func tableView(_ tableView: UITableView, numberOfRowsInSection section: Int) -> Int {
        return self.isFilterting ? self.filteredLocationData.count : dummyLocationData.count
    }

    func tableView(_ tableView: UITableView, cellForRowAt indexPath: IndexPath) -> UITableViewCell {
        guard let cell = tableView.dequeueReusableCell(withIdentifier: MainLocationTableViewCell.identifier, for: indexPath) as? MainLocationTableViewCell else { return UITableViewCell() }

        if self.isFilterting {
            cell.bindData(data: filteredLocationData[indexPath.row], row: indexPath.row)
        } else {
            cell.bindData(data: dummyLocationData[indexPath.row], row: indexPath.row)
        }
        cell.selectionStyle = .none
        return cell
    }
}'UIKit, SwiftUI, H.I.G' 카테고리의 다른 글
| [UISegmentedControl] 상단 커스텀 탭바를 만들어봅시다! (1) - UISegmentedControl 활용 (1) | 2023.11.26 |
|---|---|
| [UITableViewDiffableDataSource] Diffable Datasource, 데이터가 달라졌을 때 View에 효율적으로 반영하는 방법 (1) | 2023.11.04 |
| [iOS] 스톱워치 앱 만들기 (4) - UIEditMenuInteraction과 UIPasteboard (0) | 2023.07.07 |
| [iOS] 스톱워치 앱 만들기 (3) - 테이블 뷰에 랩 타임 추가하기 (0) | 2023.07.06 |
| [iOS] 스톱워치 앱 만들기 (2) - 버튼 클릭에 따른 상태 변화 기능 구현 (0) | 2023.07.05 |